Building a Spam Filter with Python: Using ML to Combat Spam

The Ever-Growing Problem of Spam Emails
Spam emails, or unsolicited and unwanted emails, have become a persistent problem for individuals and organizations alike. These emails can be annoying, time-consuming, and even harmful, spreading malware and phishing attacks.
Importance of Spam Filtering for Email Security
Effective spam filtering is crucial for maintaining email security and productivity. By accurately identifying and blocking spam emails, we can:
- Protect against phishing attacks: Spam emails are often used to trick users into revealing sensitive information.
- Improve email inbox organization: Reduce clutter and focus on important messages.
- Enhance email server performance: Reduce the load on email servers by filtering out spam.
Introduction to Machine Learning for Spam Detection
Machine learning, a subset of artificial intelligence, offers powerful techniques to automatically classify emails as spam or ham (non-spam). By training a machine learning model on a large dataset of labeled emails, we can develop a spam filter that can accurately identify and block spam.
In this tutorial, we'll explore how to build a spam filter using Python and popular machine learning libraries like NumPy, Scikit-learn, and Pandas.
Building the Spam Filter: Data Acquisition and Preparation
Data Acquisition
The first step in building a spam filter is to acquire a dataset of labeled emails. A popular dataset for this task is the UCI Machine Learning Repository's SpamAssassin Dataset. This dataset contains a collection of spam and ham emails, along with their labels.
Data Preparation
- Importing the Dataset:
We'll use the Pandas library to import the CSV file containing the email data:
- Data Cleaning:
The dataset might contain unnecessary columns or missing values. We can remove these using Pandas:
- Feature Extraction:
The most important feature for spam detection is the email text itself. We'll extract this text and create a new column:
In the next step, we'll use text preprocessing techniques and feature extraction to prepare the data for machine learning.
Feature Engineering
Separating Features and Labels
We've already separated the features (email text) and labels (spam/ham) in the previous step.
Text Preprocessing
Before feeding the text data to a machine learning model, we need to preprocess it to remove noise and extract meaningful features. Here are some common techniques:
- Text Cleaning:
- Remove stop words (common words like "the," "and," "is")
- Convert text to lowercase
- Remove punctuation and special characters
- Tokenization:
- Split text into individual words or tokens
- Stemming or Lemmatization:
- Reduce words to their root form (e.g., "running" -> "run")
Feature Extraction using CountVectorizer
CountVectorizer is a technique to convert text documents into numerical feature vectors. It counts the frequency of each word in a document and creates a sparse matrix:
Now, we have a numerical representation of the text data, which can be used to train a machine learning model.
In the next step, we'll split the data into training and testing sets and train a machine learning model.
Model Training and Evaluation
Splitting Data into Training and Testing Sets
To evaluate the performance of our machine learning model, we need to split the data into training and testing sets. The training set is used to train the model, while the testing set is used to evaluate its performance on unseen data.
Choosing a Machine Learning Model
For text classification tasks like spam detection, Naive Bayes is a popular choice due to its simplicity and effectiveness.
Training the Model
We can train the Naive Bayes model on the training data:
Evaluating Model Performance
To evaluate the model's performance, we can use the accuracy score:
This will give us the accuracy of the model on the testing set.
In the next step, we'll integrate this model into a Flask application to create a web-based spam filter.
Creating the Flask Application
Setting Up the Flask Application
We'll use Flask to create a simple web application that allows users to input a message and receive a spam/ham prediction.
Designing the HTML Template
Create an index.html file with an input field for the user to enter a message and a button to submit the message. The template will also display the predicted label (spam or ham).
Creating Routes
Define two routes:
- Home Page:
- Prediction Route:
Completed Code
Here's the complete code for the spam filter application in a single file (spam-classifier.py) along with instructions to run the project on your local machine:
Download From Github
You can download the project from github to run on your local machine using the following link.
DownloadInstructions to Run the Project:
- Clone the Repository:
Assuming you have Git installed, you can clone this project by running the following command in your terminal:
git clone https://github.com/your-username/spam-filter-flask.gitReplace your-username with your actual GitHub username.
- Set Up a Virtual Environment:
Windows: Open your terminal and run:
python -m venv envLinux/macOS: Open your terminal and run:
python3 -m venv envThis will create a virtual environment named env in your current directory.
- Activate the Virtual Environment:
Windows: Open your terminal and run:
env\Scripts\activateLinux/macOS: Open your terminal and run:
source env/bin/activate - Install Required Packages:
Activate your virtual environment (refer to step 3) and then run the following command:
pip install -r requirements.txtThis will install all the necessary Python libraries listed in the requirements.txt file.
- Run the Application:
Make sure your virtual environment is activated and then run:
python spam-classifier.pyThis will start the Flask application.
- Open the Web Interface:
Open a web browser and navigate to
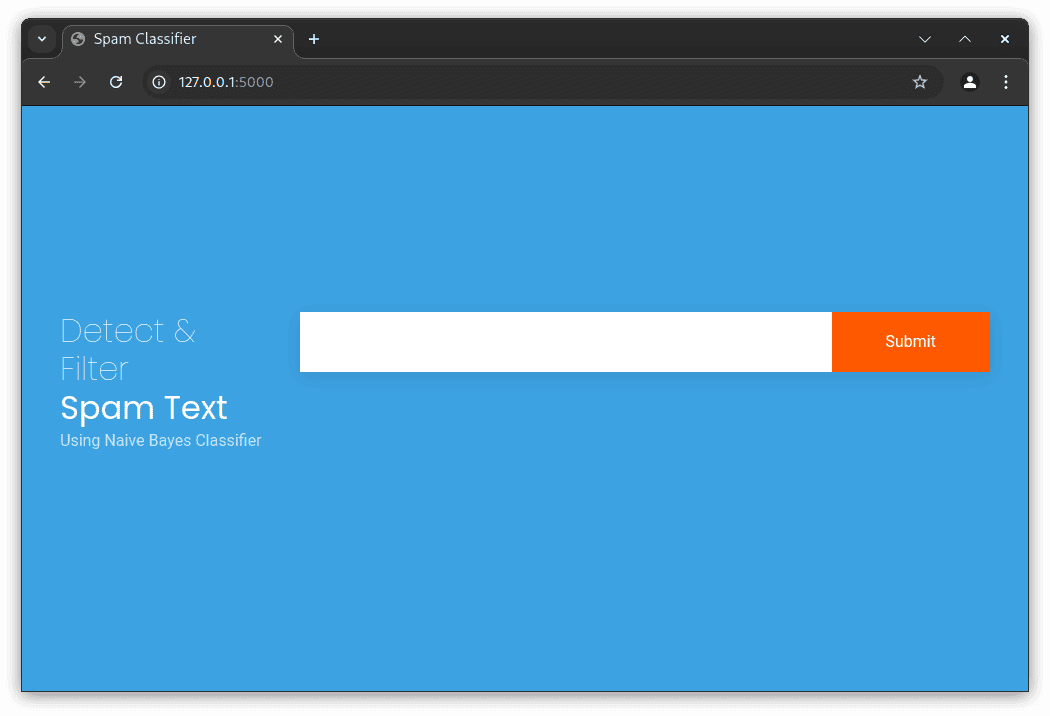
http://localhost:5000. You should see a web page with an input field for entering emails and a button to submit.
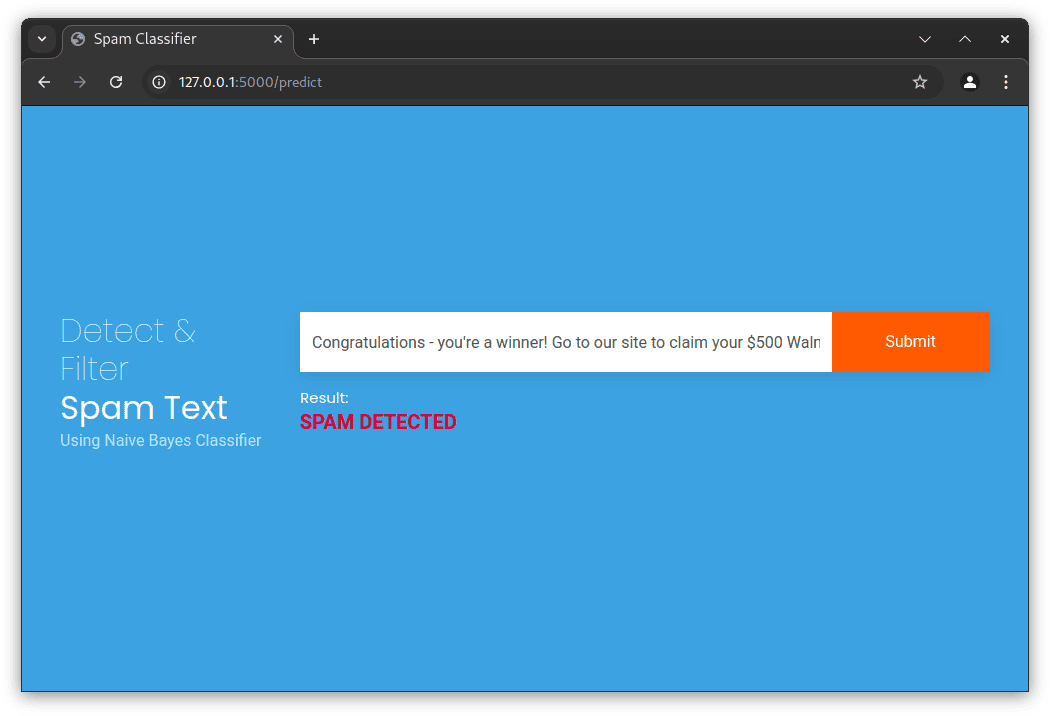
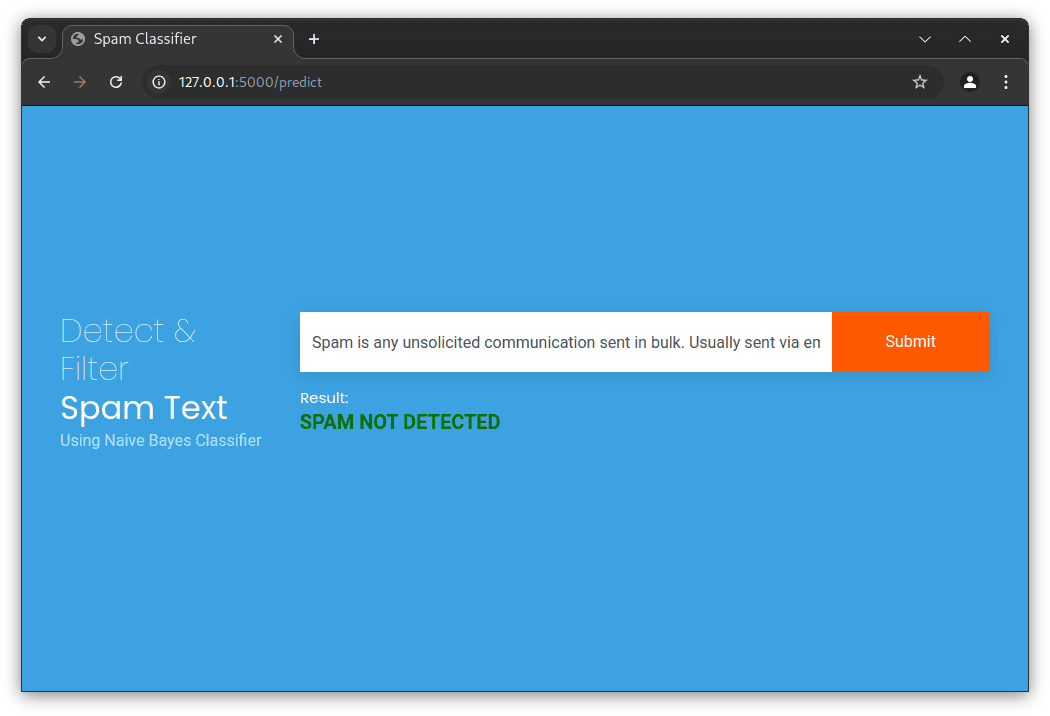
Output


Further Enhancement:
You can improve this project by:
- Training the model on a larger dataset.
- Exploring other machine learning algorithms for spam detection.
- Implementing more sophisticated text pre-processing techniques.
- Deploying the application on a web server for wider accessibility.
Feel free to explore and customize this code to create your own robust spam filter!


