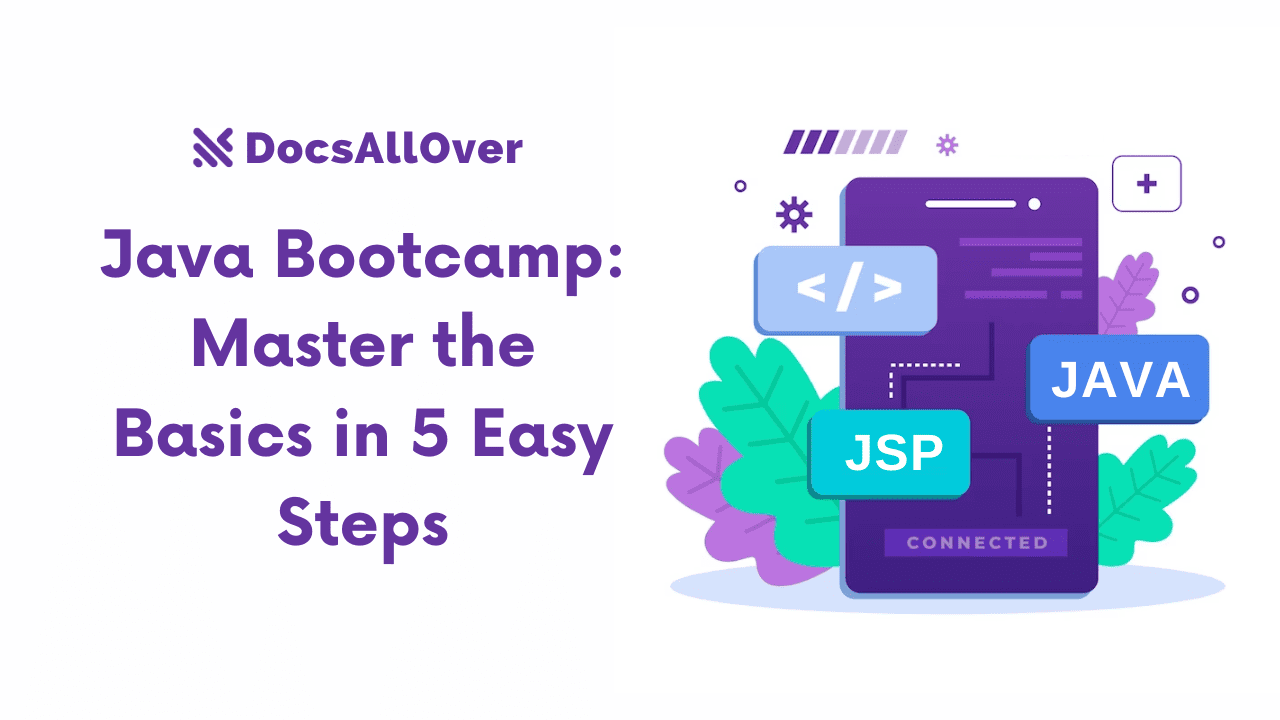
Java Bootcamp: Master the Basics in 5 Easy Steps
Java programming bootcamp
Welcome to your journey into the world of Java programming! This bootcamp will guide you through the fundamental concepts and tools you need to get started confidently. Buckle up, and let's embark on this exciting adventure in five easy steps:
Step 1: Setting Up Your Java Environment
Before you start coding, prepare your computer to understand and execute Java code. Here's what you need:
1. Download and Install the Java Development Kit (JDK):
- Visit the official Oracle Java website https://www.oracle.com/java/technologies/downloads/
- Select the appropriate JDK version for your operating system (Windows, macOS, or Linux).
- Download and run the installer, following the on-screen instructions.
2. Choose and Install an Integrated Development Environment (IDE):
- Popular options include IntelliJ IDEA https://www.jetbrains.com/idea, Eclipse https://eclipse.org/, and NetBeans https://netbeans.apache.org/
- Each IDE offers a unique set of features and customization options. Explore and choose one that suits your preferences.
- Download and install the IDE, again following the specific instructions.
3. Configure Environment Variables (Optional):
- Setting environment variables ensures your system can locate the installed JDK. This step may not be necessary depending on your IDE setup.
- Check your IDE's documentation for detailed instructions on environment variable configuration.
4. Understanding Basic Java Project Structure:
- A typical Java project consists of:- Source code files: These files contain your Java code (
.javaextension). - Package: Organized groups of related classes and files (e.g.,
com.example.myproject). - Main class: The entry point of your program, usually named
Main.java. - Other classes: You may create additional classes to encapsulate logic and data.
5. Writing Your First "Hello World" Program:
- Open your IDE and create a new Java project.
- Create a class named
Main.javain the project's source code directory. - Enter the following code into the
Main.javafile:
-
- Run the program (usually by pressing a "Run" button or selecting a "Run" option in the IDE menu).
- If everything is set up correctly, you should see the message "Hello, World!" printed in the console.
Now, you're ready to move on to the next step and delve deeper into the exciting world of Java programming!
Step 2: Diving into Java Syntax and Variables
Now that you've set up your environment, let's dive into the heart of Java: syntax and variables. These are the building blocks of any Java program, so understanding them thoroughly is crucial.
Understanding Data Types:
Every piece of information we store in a computer program has a specific type. In Java, some common data types include:
- int: Stores whole numbers (e.g., 10, -25).
- String: Holds text data (e.g., "Hello, World!").
- boolean: Represents true or false values (e.g., true, false).
Choosing the right data type is important, as it determines the operations you can perform on that data.
Declaring and Initializing Variables:
Variables give names to data in your program. To create a variable, you:
- 1.Declare: Specify the data type and a name (e.g.,
int age;). - 2.(Optional) Initialize: Assign an initial value (e.g.,
int age = 25;).
Example:
Operators:
Operators perform calculations or comparisons on data:
- Arithmetic operators:
+,-,*,/,%(for remainder). - Logical operators:
&&(and),||(or),!(not). - Comparison operators:
==(equal to),!=(not equal to),<,>,>=,<=.
Example:
Basic Input and Output with Scanner:
The Scanner class allows you to interact with the user by reading input:
- 1.Import the Scanner class:
import java.util.Scanner; - 2.Create a Scanner object:
Scanner input = new Scanner(System.in); - 3.Read user input:
String name = input.nextLine();
Output is done using the System.out.println() method:
Implement:
- Data types define what kind of information a variable can hold.
- Declare and initialize variables to give them names and values.
- Operators help you perform calculations and comparisons.
- The
Scannerclass enables user interaction by reading input.
Practice:
- 1. Create variables to store your name, age, and favorite color.
- 2. Calculate your next year's age.
- 3. Ask the user for their name and greet them personally.
By mastering these fundamentals, you'll be well-equipped to build more complex and interactive Java programs!
Additional Recommendations
- Experiment with different data types and operators to see their effects.
- Use meaningful variable names to improve code readability.
- Validate user input to ensure it matches the expected format.
- Explore online resources and tutorials for further learning.
Step 3: Mastering Control Flow in Java
Now that you've grasped Java syntax and variables, let's explore control flow, the mechanism that directs the execution of your code based on conditions and loops.
Conditional Statements:
These statements control which parts of your code run based on specific conditions:
ifstatement: Executes a block of code if a condition is true.elsestatement: Executes a block of code if theifcondition is false (optional).
Example:
Loops:
Loops allow you to repeat a block of code multiple times:
forloop: Executes a block of code repeatedly based on a counter variable.whileloop: Repeats a block of code as long as a condition is true.
Example:
Switch Statements:
A switch statement lets you choose which code block to execute based on a variable's value:
Nested Control Flow:
Debugging Techniques:
Errors are inevitable, but debugging skills are essential:
- System.out.println: Print values to track variables and execution flow.
- Breakpoints: Pause execution at specific lines to inspect variables.
- Debuggers: Use IDE tools to step through code line by line.
Implement:
- Control flow structures guide your program's execution based on conditions and repetition.
- Use
if,else,for,while, andswitchstatements appropriately. - Nested control flow can create complex logic, so be mindful of clarity.
- Utilize debugging techniques to identify and fix errors efficiently.
Practice:
- 1. Write a program that calculates the factorial of a number using a loop.
- 2. Use a
switchstatement to grade student scores based on ranges. - 3. Debug a simple program with printing and breakpoints.
By mastering control flow and debugging, you'll be able to write more flexible and robust Java programs!
Additional Recommendations
- Use meaningful variable names and consistent indentation to improve code readability.
- Test your code with different inputs to ensure it works as expected.
- Don't hesitate to seek help from online resources and communities when stuck.
Step 4: Building with Objects and Classes in Java
In this exciting step, we delve into the heart of object-oriented programming (OOP) with Java: classes and objects. Understanding these concepts will empower you to create reusable, modular, and powerful programs.
Defining Classes and Objects:
- A class acts as a blueprint, defining the properties (attributes) and behaviors (methods) of similar objects.
- An object is an instance of a class, representing a specific entity with its own set of properties and behaviors.
Example:
- Class:
Car- Properties:
color,model,year - Methods:
startEngine(),accelerate(),brake()
- Properties:
- Object:
myCar(an instance ofCar) with specificcolor,model, andyearvalues.
Encapsulation and Methods:
- Encapsulation: Bundling data (properties) and methods associated with an object. It promotes data protection and code organization.
- Methods: Functions defined within a class that operate on the object's data. They specify how the object behaves.
Constructor Basics and Object Creation:
- A constructor is a special method with the same name as the class, used to initialize an object's properties when it's created.
- To create an object:
- 1. Use the
newkeyword followed by the class name. - 2. Provide arguments (if any) to the constructor for initialization.
- 1. Use the
Example:
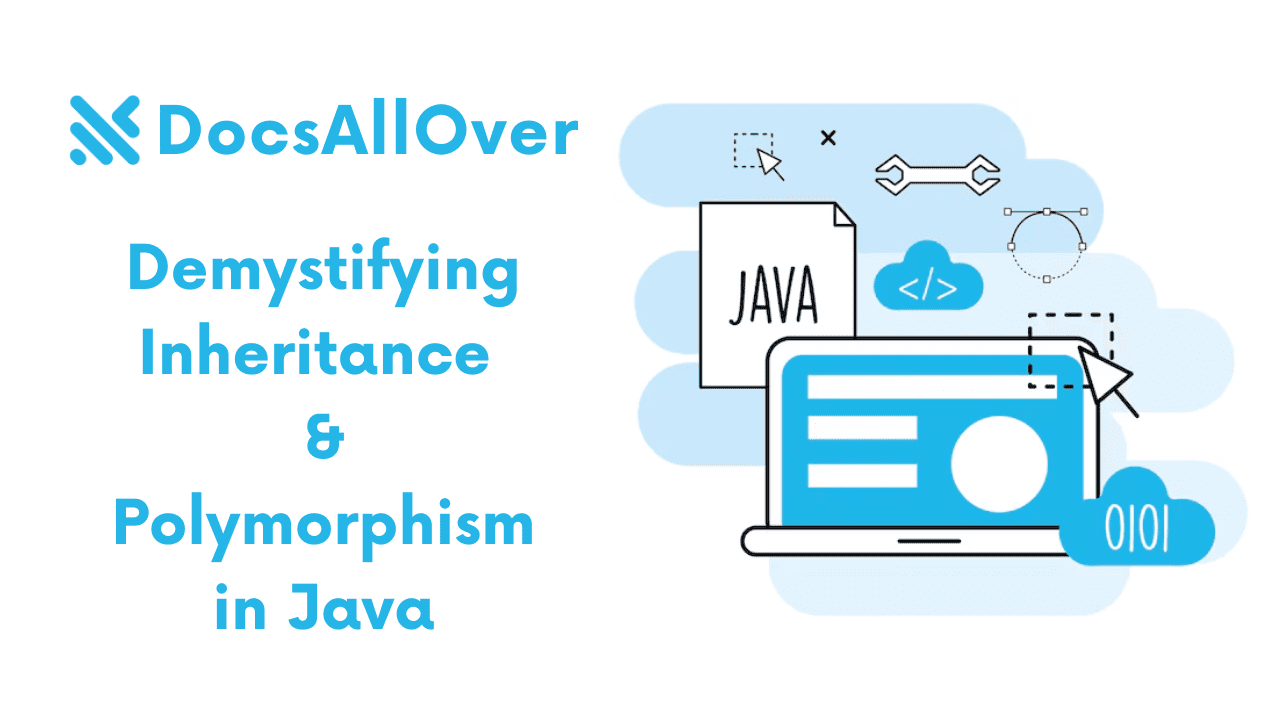
Inheritance and Polymorphism:
- Inheritance: Creating new classes (subclasses) that inherit properties and methods from existing classes (superclasses). This promotes code reuse and specialization.
- Polymorphism: The ability of objects from different classes to respond differently to the same method call.
Example:
- Create a
SportsCarclass that inherits fromCarand adds specificmaxSpeedandturboBoost()methods. - Both
CarandSportsCarobjects can callstartEngine(), but with potentially different implementations due to polymorphism.
Implement:
- Classes define blueprints, objects are specific instances.
- Encapsulation ensures data protection and code organization.
- Methods define object behavior.
- Constructors initialize object properties.
- Inheritance promotes code reuse and specialization.
- Polymorphism allows objects to respond differently to the same method.
Practice:
- 1. Create a class for a bank account with properties like balance, account number, and methods for deposit, withdrawal, and showing balance.
- 2. Design a game character class with inheritance for different character types (e.g., warrior, mage) with unique abilities.
- 3. Experiment with polymorphism by creating methods that work differently on different object types.
By mastering these OOP concepts, you'll unlock the true power and flexibility of Java programming!
Additional Recommendations
- Start with simple class designs and gradually increase complexity.
- Use clear and descriptive names for classes, objects, and methods.
- Comment your code to explain its logic and improve readability.
- Explore online resources and tutorials for deeper understanding and examples.
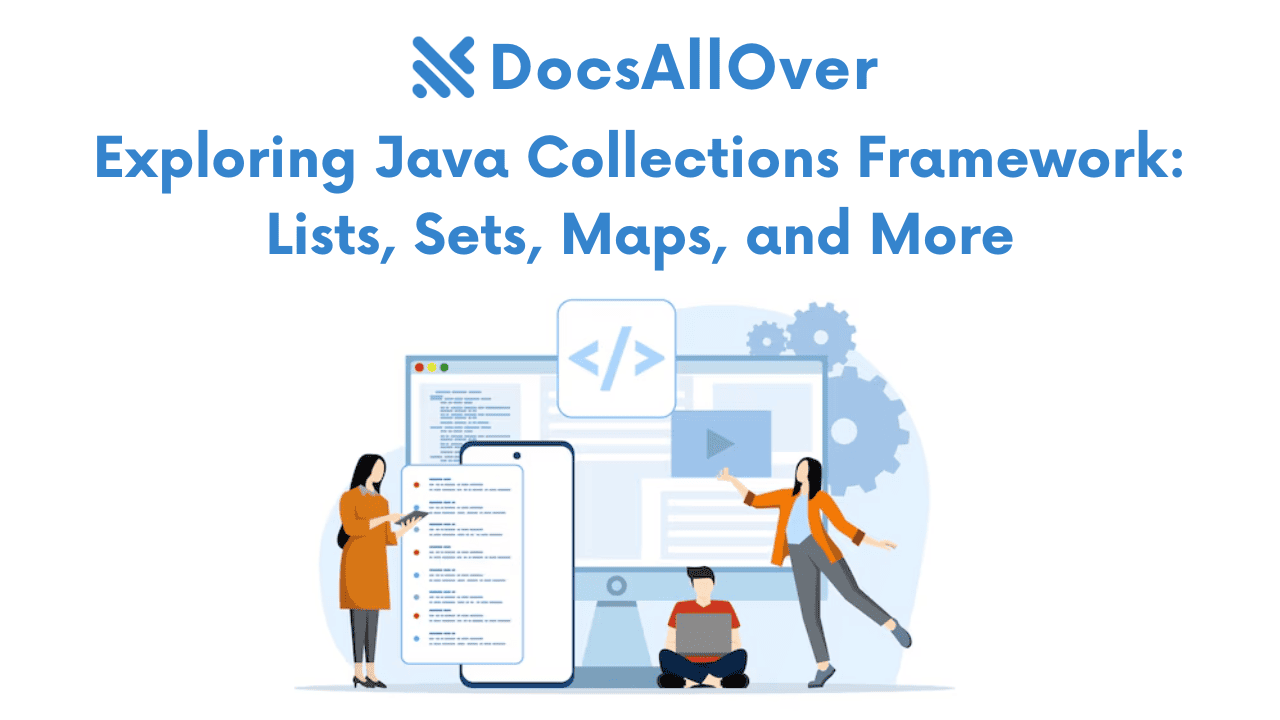
Step 5: Exploring Collections and Arrays in Java: Organizing Your Data
In the final step of this Java Bootcamp, we delve into powerful tools for organizing and manipulating data: collections and arrays. These structures provide efficient ways to store and manage various types of information.
Collections:
- Collections are interfaces that represent groups of objects.
- Java provides pre-built implementations like:
- Lists: Ordered collections, allowing duplicates (e.g.,
ArrayList). - Sets: Unordered collections, no duplicates allowed (e.g.,
HashSet). - Maps: Key-value pairs, unique keys (e.g.,
HashMap).
- Lists: Ordered collections, allowing duplicates (e.g.,
Example:
Arrays:
- Arrays represent fixed-size, ordered collections of elements of the same type.
- Declared using square brackets with element type and size:
int[] myArray = new int[5]; - Access elements using index:
myArray[2] = element;
Sorting and Searching:
- Java provides built-in methods like
Arrays.sort()andCollections.sort()to sort collections/arrays in ascending order. - Searching can be done using
Arrays.binarySearch()for efficient binary search (sorted arrays) orList.contains()for searching by value.
Implementing Simple Algorithms:
- Practice basic algorithms like linear search (searching each element) or selection sort (swapping elements to achieve order).
Remember:
- Choose the appropriate collection based on your data organization needs.
- Arrays are simple but fixed-size, while collections offer more flexibility and functionalities.
- Sorting and searching techniques are crucial for efficient data manipulation.
- Practice implementing simple algorithms to enhance your problem-solving skills.
Practice:
- 1. Create an
ArrayListto store student names and iterate through it to print each name. - 2. Use a
HashMapto store product IDs and corresponding prices, and retrieve the price of a specific product by its ID. - 3. Implement a linear search algorithm to find a specific element within an array.
- 4. Try sorting a list of numbers using the
Collections.sort()method.
By mastering these collection and array concepts, you'll be well-equipped to handle complex data structures and manipulate information efficiently in your Java programs!
We hope this comprehensive blog post equips you with the knowledge and skills to navigate the world of collections and arrays in Java effectively!