How to use AWS EC2
What is AWS EC2?
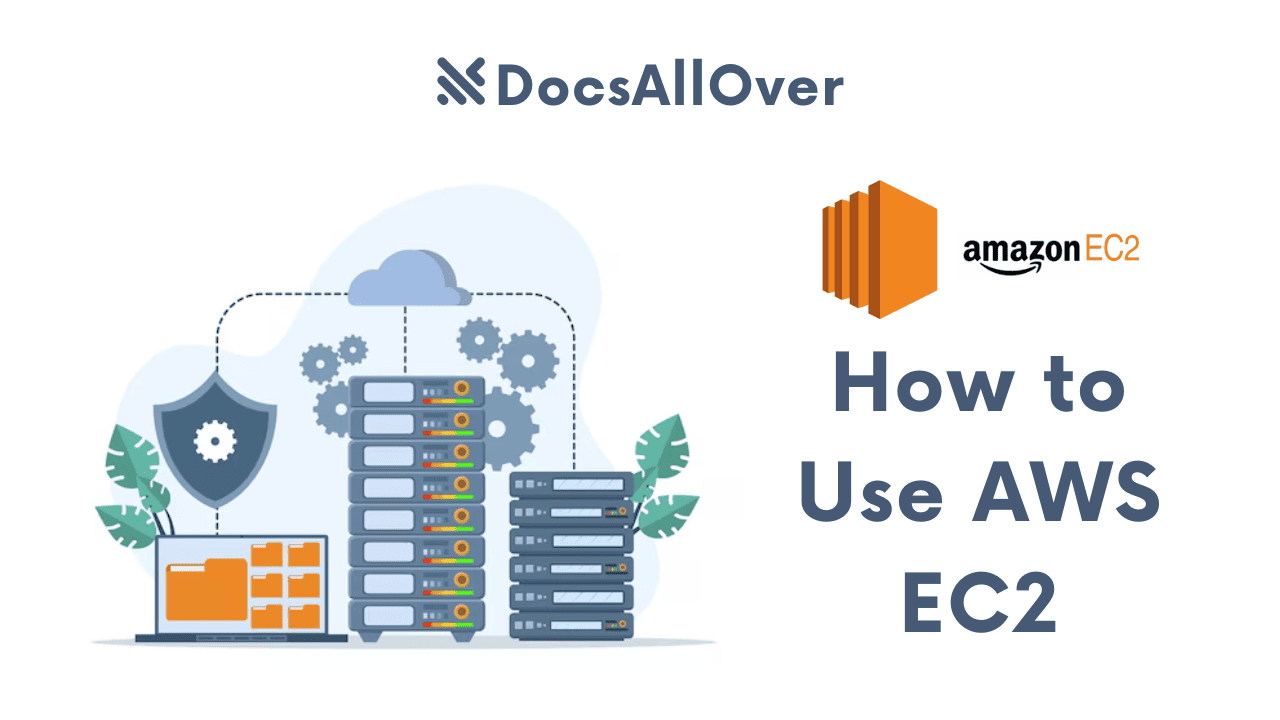
Amazon Elastic Compute Cloud (EC2) is a web service that provides resizable compute capacity in the cloud. It enables you to launch virtual servers called instances in the cloud. These instances can be used to run a wide variety of applications, such as web servers, databases, and big data applications.
Benefits of Using EC2
- Scalability: Easily scale your instances up or down to meet changing demands.
- Flexibility: Choose from a variety of instance types to fit your specific needs.
- Cost-Effectiveness: Pay only for the resources you use.
- Reliability: Benefit from AWS's robust infrastructure and redundancy.
- Security: Leverage AWS's security features to protect your instances.
Prerequisites for Using EC2
To use EC2, you'll need:
- An AWS Account: Create a free tier account to get started.
- Basic Understanding of Cloud Computing: A fundamental understanding of cloud concepts will be helpful.
- Basic Linux or Windows Administration: Knowledge of operating systems will be beneficial for managing your instances.
Creating an AWS Account
Signing Up for an AWS Account
- Visit the AWS Website: Go to the official AWS website (aws.amazon.com).
- Create an AWS Account: Click on the "Create an AWS account" button.
- Provide Personal Information: Enter your personal information, including name, email address, and phone number.
- Create a Password: Choose a strong, unique password for your AWS account.
- Provide Payment Information: You'll need to provide payment information, but you won't be charged until you start using services.
- Complete Verification: AWS may require additional verification steps, such as phone verification or identity verification.
Verifying Your Identity
AWS may require you to verify your identity to prevent fraud and abuse. This verification process typically involves:
- Phone Verification: You'll receive a verification code via SMS or phone call.
- Identity Verification: You may need to provide a government-issued ID or other documents to verify your identity.
Understanding AWS Pricing Models
AWS offers a variety of pricing models to suit different needs:
- Pay-As-You-Go: You pay for the resources you use, on an hourly or per-second basis.
- Reserved Instances: Purchase reserved capacity for a specific term to get significant discounts.
- Savings Plans: Commit to a consistent hourly usage level and receive discounted rates.
- Spot Instances: Bid on unused EC2 capacity and pay a significantly lower rate.
Once you've created an AWS account and verified your identity, you're ready to launch your first EC2 instance.
Launching Your First EC2 Instance
Choosing an AMI
An Amazon Machine Image (AMI) is a template that contains the software configuration (operating system, applications, etc.) required to launch an instance. You can choose from a variety of AMIs, including:
- Amazon Machine Images (AMIs): Pre-built images provided by Amazon.
- Community AMIs: AMIs created and shared by the AWS community.
- Self-Created AMIs: AMIs created from your own instances.
Selecting an Instance Type
The instance type you choose depends on your specific workload requirements. Factors to consider include:
- CPU: The number of virtual CPUs.
- Memory: The amount of memory available.
- Storage: The type and amount of storage.
- Network Performance: The network bandwidth and throughput.
Configuring Security Groups
Security groups act as firewalls for your EC2 instances. You can configure inbound and outbound rules to control network traffic.
- Inbound Rules: Specify which ports and protocols can be accessed from the internet.
- Outbound Rules: Control the outbound traffic from your instance.
Creating a Key Pair
A key pair is a set of cryptographic keys used to authenticate to your instances. You'll need a key pair to access your instances via SSH or RDP.
Launching the Instance
- Choose an AMI: Select the appropriate AMI for your workload.
- Choose an Instance Type: Select an instance type that meets your performance and cost requirements.
- Configure Security Groups: Specify inbound and outbound rules to control network traffic.
- Create a Key Pair: Generate a new key pair to access your instance.
- Review and Launch: Review your configuration and launch the instance.
Once your instance launches, you'll be able to connect to it using SSH or RDP, depending on the operating system of your instance.
Connecting to Your EC2 Instance
Connecting to Linux Instances: Using SSH
- Generate an SSH Key Pair: If you haven't already, generate an SSH key pair using a tool like
ssh-keygen. - Add the Public Key to Your Instance: Add the public key to the security group associated with your instance.
- Connect Using SSH: Use an SSH client like PuTTY or the built-in terminal in your operating system to connect to your instance.
Replace
your_key_pair.pemwith the path to your private key andec2-user@your_instance_public_ipwith the username and public IP address of your instance.
Connecting to Windows Instances: Using Remote Desktop Protocol (RDP)
- Generate an RDP File: You can generate an RDP file directly from the AWS Management Console.
- Use a Remote Desktop Client: Use a remote desktop client like Microsoft Remote Desktop to connect to your Windows instance.
- Provide Credentials: Enter the public IP address of your instance and the username and password you specified during the instance launch.
Managing EC2 Instances
Starting, Stopping, and Terminating Instances
- Starting an Instance: Brings an instance online and makes it accessible.
- Stopping an Instance: Shuts down an instance while preserving its data. You can start it again later.
- Terminating an Instance: Permanently deletes an instance and its associated data.
Creating and Managing Security Groups
Security groups act as firewalls for your EC2 instances. You can create security groups with specific inbound and outbound rules to control network traffic.
- Inbound Rules: Specify which ports and protocols can be accessed from the internet.
- Outbound Rules: Control the outbound traffic from your instance.
You can modify security group rules at any time, but be cautious as incorrect configurations can compromise security.
Modifying Instance Configurations
You can modify various instance configurations, such as:
- Instance Type: Change the instance type to adjust compute power and memory.
- Storage: Increase or decrease storage capacity.
- Network Settings: Modify network interfaces and security groups.
- Software Configuration: Update software packages and configurations.
Creating Snapshots and AMIs
- Snapshots: Create snapshots of your instance's storage volumes to create backups or restore data.
- AMIs: Create custom AMIs from your instances to launch new instances with specific configurations.
Optimizing EC2 Performance and Cost-Efficiency
Choosing the Right Instance Type
Selecting the appropriate instance type is crucial for optimizing performance and cost-effectiveness. Consider the following factors:
- CPU and Memory: Choose an instance type that meets the specific needs of your workload.
- Storage: Select the right storage type (EBS, SSD, or Instance Store) based on performance and cost requirements.
- Network Performance: Ensure sufficient network bandwidth and throughput for your applications.
Using Spot Instances
Spot Instances offer significant cost savings by allowing you to bid on unused EC2 capacity. However, they can be interrupted if demand increases. To mitigate this risk, you can use strategies like:
- Spot Fleet: Manage a pool of Spot Instances across multiple Availability Zones and instance types.
- Capacity Reservations: Purchase reserved capacity to protect against interruptions.
Implementing Auto-Scaling
Auto-Scaling allows you to automatically adjust the number of instances in response to changes in demand. This helps ensure optimal performance and cost-efficiency.
- Scaling Policies: Define scaling policies based on metrics like CPU utilization, network traffic, or custom metrics.
- Cooldown Periods: Prevent over-provisioning by setting cooldown periods between scaling events.
Optimizing Storage and Networking
- Choose the Right Storage Type: Select the appropriate storage type (EBS, S3, or Instance Store) for your workload.
- Optimize Network Configuration: Configure network settings to minimize latency and maximize throughput.
- Use Compression: Compress data to reduce storage and transfer costs.
Monitoring and Logging
- Amazon CloudWatch: Monitor the performance and health of your EC2 instances.
- Amazon CloudTrail: Log user activity and API calls to your AWS account.
- Set Up Alerts: Configure alerts to be notified of potential issues.
Best Practices for EC2 Security
To ensure the security of your EC2 instances, it's essential to follow these best practices:
Strong Password Policies
- Complex Passwords: Use strong, unique passwords for your AWS account and EC2 instances.
- Password Rotation: Regularly change passwords to reduce the risk of unauthorized access.
- Multi-Factor Authentication (MFA): Enable MFA for enhanced security.
Regular Security Patches
- Keep Systems Updated: Regularly apply security patches to your operating systems and applications.
- Use Automated Patching Tools: Automate the patching process to minimize human error.
Network Security Groups
- Restrict Inbound Traffic: Only allow necessary traffic to your instances.
- Use Security Groups Strategically: Create separate security groups for different types of instances.
- Review Security Group Rules Regularly: Ensure that rules are up-to-date and secure.
Monitoring and Logging
- Use CloudWatch: Monitor the performance and health of your EC2 instances.
- Enable Detailed Logging: Log system activity, security events, and application errors.
- Set Up Alerts: Configure alerts to notify you of potential security threats.
Incident Response Planning
- Develop an Incident Response Plan: Outline steps to be taken in case of a security breach.
- Regularly Test Your Plan: Conduct regular security drills to ensure preparedness.
- Have a Dedicated Security Team: Assign a team to handle security incidents.


