How to use Azure Virtual Machines
What are Azure Virtual Machines (VMs)?
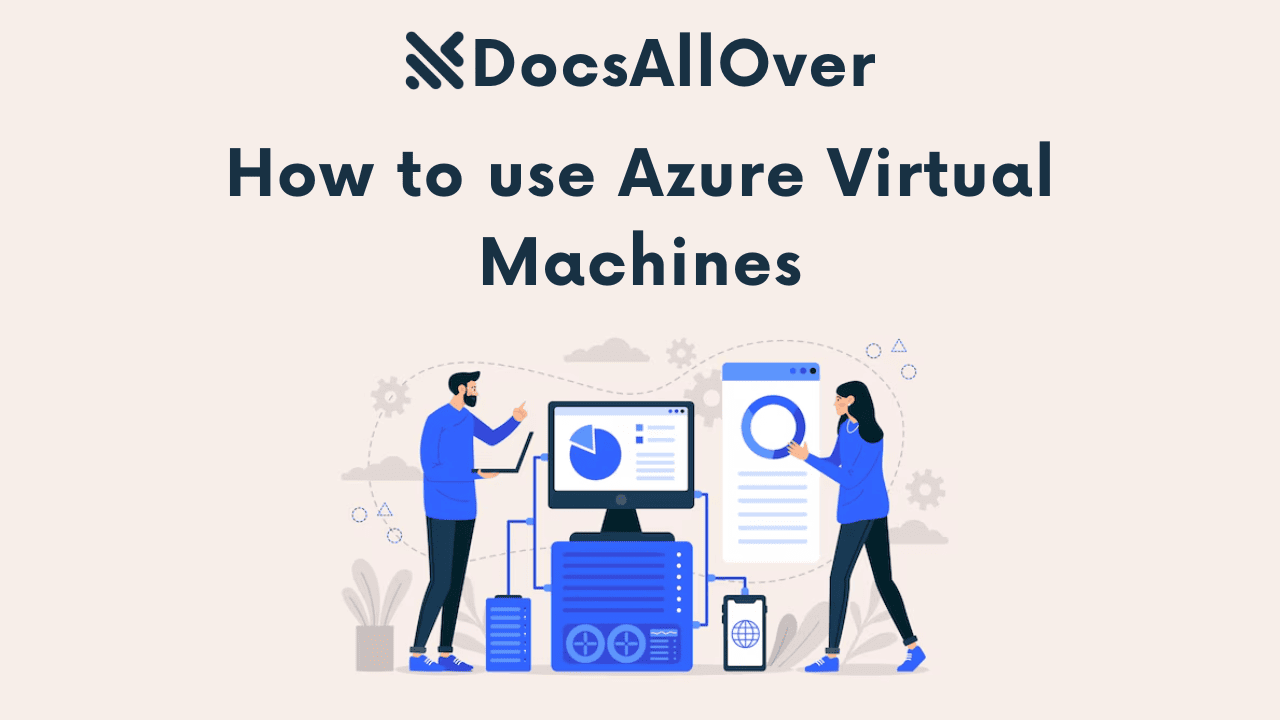
Azure Virtual Machines (VMs) are virtual computers hosted in Microsoft Azure's cloud environment. They provide you with the flexibility and control of physical servers, but with the benefits of cloud computing, such as scalability, elasticity, and pay-as-you-go pricing. Essentially, an Azure VM is like a traditional computer, but it runs on Azure's infrastructure instead of your own physical hardware.
Benefits of using Azure VMs
- Scalability and Flexibility: Easily scale your resources up or down to meet changing demands. You can quickly add or remove VMs as needed, ensuring you always have the right amount of computing power.
- Cost-Effectiveness: Pay only for the resources you consume. No upfront hardware costs, and you can right-size your VMs to optimize costs.
- High Availability and Disaster Recovery: Leverage Azure's global infrastructure for high availability and disaster recovery. Distribute your workloads across multiple regions to ensure business continuity.
- Enhanced Security: Benefit from Azure's robust security features, including built-in security tools, network security groups, and regular security updates.
- Rapid Deployment: Quickly deploy and configure VMs using tools like the Azure portal, Azure CLI, or Azure PowerShell.
Use Cases for Azure VMs
- Web Servers: Host websites, web applications, and web services on Azure VMs.
- Application Servers: Deploy and run enterprise applications, databases, and middleware on Azure VMs.
- Development and Testing: Use VMs for development and testing environments, providing a flexible and scalable platform for your development teams.
- Big Data and Analytics: Process and analyze large datasets using VMs equipped with high-performance computing capabilities.
- High-Performance Computing (HPC): Run computationally intensive tasks such as simulations, rendering, and machine learning workloads.
Creating an Azure Virtual Machine
Prerequisites
- Azure Subscription: You'll need an active Azure subscription to create and manage Azure resources. You can sign up for a free trial to get started.
- Azure Account: Create an Azure account and log in to the Azure portal using your credentials.
Creating a Virtual Machine using the Azure Portal
- Choose a VM Size and Image:
- Select the appropriate VM size based on your application's resource requirements (CPU, memory, storage). Azure offers a wide range of VM sizes to choose from.
- Select an operating system image (e.g., Windows Server, Ubuntu Server) for your VM.
- Configure Networking:
- Virtual Network: Create a virtual network or use an existing one to segment your VMs and control network traffic.
- Subnets: Create subnets within your virtual network to further segment your network and control traffic flow.
- Public IP Address: If your VM needs to be accessible from the internet, assign a public IP address to it.
- Configure Storage:
- OS Disk: This disk holds the operating system for your VM.
- Data Disks: You can attach additional data disks for storage needs like application data, databases, or logs. Choose the appropriate disk type (HDD, SSD, Ultra Disk) based on your performance and cost requirements.
- Configure Security:
- Network Security Groups (NSGs): Create NSGs to control inbound and outbound network traffic to your VM. You can define rules to allow or deny traffic based on source, destination, port, and protocol.
- Just-in-Time Access: Enable Just-in-Time access to restrict access to your VM's RDP/SSH ports. This enhances security by allowing you to open ports only when necessary.
- Choose a VM Size and Image:
Creating a Virtual Machine using the Azure CLI or PowerShell
- The Azure CLI and Azure PowerShell are command-line tools that provide a powerful and efficient way to manage Azure resources.
- You can use these tools to automate the creation of VMs, configure networking, and manage other aspects of your Azure infrastructure.
Creating a Virtual Machine using Azure Resource Manager Templates
- Azure Resource Manager templates (ARM templates) are JSON files that define the infrastructure and configuration of your Azure resources.
- Using ARM templates allows you to automate and standardize the deployment of your Azure resources, including VMs.
- Templates can be versioned and reused, making it easier to manage and update your infrastructure.
Managing Azure Virtual Machines
Connecting to an Azure VM
- Using Remote Desktop Connection: Connect to Windows VMs using the Remote Desktop Connection client.
- Using SSH (for Linux VMs): Connect to Linux VMs using SSH.
- You can use tools like PuTTY or the built-in SSH client in Windows.
- Ensure that SSH is enabled on your Linux VM and that you have the appropriate SSH keys or passwords.
Starting, Stopping, and Restarting VMs
- Start: Start a stopped VM to make it available for use.
- Stop: Stop a running VM to conserve resources and reduce costs. A stopped VM retains its state but does not incur any compute charges.
- Restart: Restart a running VM to apply updates, troubleshoot issues, or refresh the operating system.
Reimaging a VM
- Reimaging a VM reinstalls the operating system and resets the VM to its original state.
- This can be useful for troubleshooting issues, reinstalling software, or upgrading the operating system.
Scaling VM Instances
- You can easily scale the number of VM instances up or down to meet changing demands.
- This allows you to quickly adjust your computing resources to handle increased traffic or workload.
Managing VM Updates and Patches
- Azure automatically provides security updates and patches for the operating system and applications running on your VMs.
- You can configure automatic updates or manually apply updates as needed.
Azure VM Networking
Virtual Networks and Subnets
- Virtual Networks (VNet): A virtual network is a logical representation of your on-premises network in the cloud. It provides a dedicated and isolated network space for your Azure resources.
- Subnets: Subnets divide a virtual network into smaller, more manageable segments. You can use subnets to group VMs with similar roles or security requirements together.
Network Security Groups (NSGs)
- NSGs are a fundamental security boundary for your Azure resources.
- They act as a firewall, allowing or denying inbound and outbound network traffic based on source, destination, port, and protocol.
- You can associate NSGs with subnets or individual network interfaces.
Public and Private IPs
- Public IP addresses: Enable your VMs to communicate with the internet.
- Private IP addresses: Used for communication within your virtual network. Private IP addresses are not routable over the internet.
Load Balancing and Traffic Management
- Load Balancing: Distribute incoming traffic across multiple VM instances to improve availability, scalability, and performance.
- Azure Load Balancer: A highly available and scalable load balancer that can distribute traffic across multiple VMs based on various algorithms.
- Traffic Manager: Directs traffic to the nearest or healthiest endpoint based on your defined routing rules.
Azure VM Storage
Azure Disk Types
- HDD (Hard Disk Drive): Offers cost-effective storage for general-purpose workloads.
- SSD (Solid State Drive): Provides faster performance than HDDs, ideal for applications with higher I/O demands. Available in various performance tiers (Standard, Premium).
- Ultra Disks: Offer the highest performance and lowest latency, suitable for demanding workloads like databases and high-performance computing.
Managing Disks
- Attaching Disks: You can easily attach additional data disks to your VMs to increase storage capacity.
- Detaching Disks: Detach disks from VMs when they are no longer needed.
- Resizing Disks: Resize disks to increase or decrease storage capacity as required.
Snapshots and Backups
- Snapshots: Create point-in-time copies of your disks. Snapshots are lightweight and can be used to quickly restore your VMs to a previous state.
- Backups: Create full or incremental backups of your VMs using Azure Backup. Backups provide a mechanism for recovering your VMs in case of disasters or data loss.
Azure VM Security
Security Groups
- Network Security Groups (NSGs) are a fundamental security boundary for your Azure resources.
- They act as a firewall, allowing or denying inbound and outbound network traffic based on source, destination, port, and protocol.
- By carefully configuring NSGs, you can restrict access to your VMs and protect them from unauthorized traffic.
Just-in-Time Access
- Just-in-Time (JIT) access allows you to temporarily open specific ports on your VM for a limited time.
- This enhances security by minimizing the attack surface and reducing the risk of unauthorized access.
Security Center
- Azure Security Center is a unified infrastructure security management service that helps you assess, secure, and improve the security posture of your Azure resources, including VMs.
- It provides threat detection, vulnerability assessments, and security recommendations.
Vulnerability Assessments
- Security Center continuously scans your VMs for vulnerabilities and provides recommendations for remediation.
- You can use these assessments to identify and address security issues proactively.
Cost Optimization
Choosing the Right VM Size
- Select the VM size that best meets the performance requirements of your workload while minimizing costs.
- Avoid overprovisioning resources, as this can lead to unnecessary expenses.
- Consider using burstable VMs for workloads with occasional spikes in resource demand.
Using Reserved Instances
- Reserved Instances offer significant cost savings compared to pay-as-you-go pricing.
- You make a one-time upfront payment or monthly payment for a reserved capacity commitment.
- Reserved Instances are suitable for workloads with predictable resource needs.
Auto-Shutdown
- Schedule your VMs to automatically shut down during off-peak hours or when they are not in use.
- This can significantly reduce your compute costs, especially for development and testing environments.
Monitoring and Optimizing Resource Utilization
- Monitor your VM resource utilization (CPU, memory, disk I/O) to identify areas for optimization.
- Right-size your VMs based on actual resource consumption.
- Use Azure Monitor to collect and analyze performance data.
By implementing these strategies, you can significantly reduce your cloud computing costs while maintaining the performance and reliability of your Azure VM deployments.


